How to Edit a Vertical Video for LinkedIn
Learn how to edit a vertical video for LinkedIn: safe zones, sound-off captions, hook timing, pacing, length, on-screen text, and export settings that work.
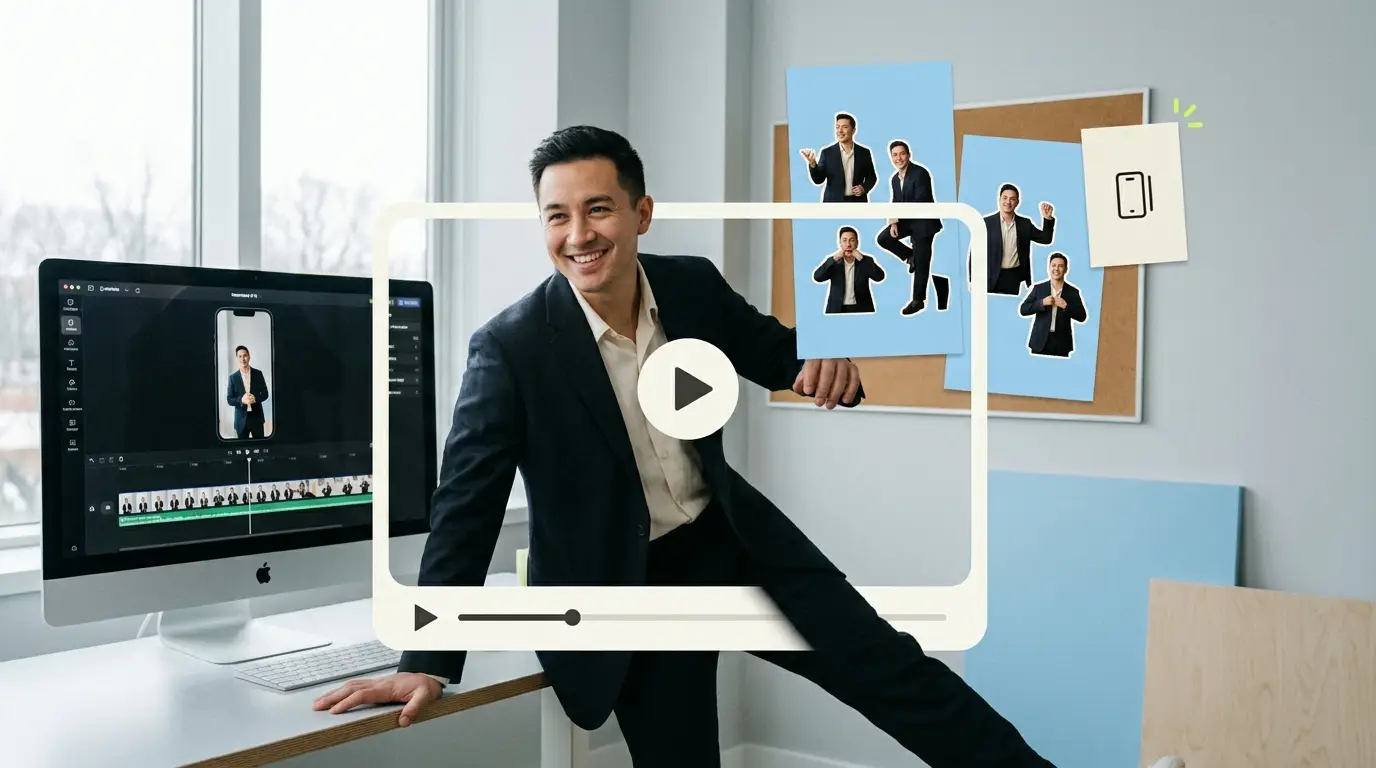
Knowing how to edit a vertical video for LinkedIn is now a practical skill for any B2B marketing or founder-led brand, because the feed rewards short, well-framed clips that hold attention without sound. A vertical clip that looks great inside an editing timeline can still fail in the LinkedIn feed if the safe zones are wrong, the captions are missing, or the first two seconds give people no reason to stop scrolling. This guide walks through every editing decision that matters, from aspect ratio and on-screen text placement to pacing for a professional audience and the export settings that keep your file sharp.
LinkedIn is a different room than TikTok or Instagram. The people watching are often making a buying decision or sizing you up as a vendor, so the editing choices that work here lean toward clarity over chaos. The good news is that the technical rules are simple once you know them, and most of them only need to be set up once per project.
Why vertical video performs on LinkedIn
Vertical video fills more of a mobile screen, and most LinkedIn browsing happens on phones. A 9:16 clip fills far more of the feed than a horizontal one, so it earns a stronger stop. Video already carries weight in B2B: according to Wyzowl, 91% of businesses use video as a marketing tool, and 82% say a video convinced them to buy a product or service.
That second number is what matters: viewers are deciding, not just watching. Editing a LinkedIn vertical video well means respecting that mindset, getting to the point and making every second count. Our guide to LinkedIn video strategy for B2B brands covers planning, formats, and distribution.
Step 1: Set the right aspect ratio and resolution

Start your project at a true 9:16 aspect ratio. The standard export resolution is 1080 by 1920 pixels. Anything wider gets letterboxed or cropped, and anything lower in resolution looks soft on modern phone screens. Set your sequence or timeline to 1080 by 1920 before you import a single clip, because resizing footage after you have built an edit creates rounding errors and reframing headaches.
If your source footage was shot horizontal at 1920 by 1080, you have two options. You can scale and reposition the footage so the subject fills the vertical frame, or you can use a blurred background fill with the original clip centered. For a professional B2B look, scaling to fill almost always reads better than the blurred-bar treatment, which can look like a workaround. Reframe with the speaker positioned slightly above center so their eyes sit in the upper third.
Step 2: Respect the LinkedIn safe zones
Safe zones are the parts of the frame that stay clear of LinkedIn's interface. The platform overlays the poster's name, the caption text, the like and comment buttons, and the sound icon on top of your video. If you place important text or your speaker's face in those areas, the interface will cover it.
As a working rule, keep roughly the bottom 15 percent and the right 10 percent of the frame clear of anything critical. Keep the top 10 percent clear too, since the profile name and follow button sit there. Build a guide layer in your editor: a rectangle marking the central safe area, set to a low opacity, that you can toggle on while you position text and turn off before export. Anything you want every viewer to read, your captions, your key stat, your call to action, lives inside that central band.
Step 3: Build a hook in the first two seconds

The opening frame decides whether the rest of your edit gets seen. On LinkedIn, video often autoplays muted as someone scrolls, so your hook has to work visually and in text. Open on motion or a face, not a static title card or a slow logo animation. Put a bold text hook on screen within the first second: a question, a contrarian claim, or a specific promise like "Three pricing mistakes that kill B2B deals."
Cut the dead air at the start. If your speaker takes a breath, says "um," or eases into the topic, trim it. The first sentence in the final edit should be the most interesting sentence in the whole clip. Founder-led clips live or die on this opening, which is why our breakdown of executive thought leadership video on LinkedIn spends so much time on framing the first line.
Step 4: Add captions for sound-off viewing
Most LinkedIn video gets watched without sound, at least at first, so captions are not optional. Burn them in rather than relying on auto-captions, which gives you full control over font, size, timing, and placement inside the safe zone.
A few rules for B2B captions that read clean:
- Use a sans-serif font at a size large enough to read on a phone, usually 60 to 90 pixels tall in a 1080 by 1920 frame.
- Show one to three words at a time for fast pacing, or one full line for a calmer, more executive tone.
- Keep captions in the central safe band, never the bottom 15 percent.
- Add a subtle drop shadow or a semi-transparent background bar so text stays legible over any footage.
- Proofread every caption. A typo in burned-in text undermines the authority you are trying to build.
White text with a thin dark outline works on almost any background. For more on caption craft and the wider format, see our overview of short-form video editing.
Step 5: Pace the edit for a professional audience

Pacing on LinkedIn sits between the frantic cuts of consumer short-form and the slow pace of a webinar. Aim for a cut or visual change every three to five seconds so the clip feels alive, but do not chop so aggressively that the speaker sounds clipped. Remove pauses, filler words, and tangents in the audio, then let the visuals breathe slightly more than you would on TikTok.
B2B viewers prefer a clip that respects their intelligence, so you can hold on a single idea long enough to explain it. Tighten the audio while keeping the rhythm steady, and use J-cuts and L-cuts (where audio leads or trails the visual cut) to smooth transitions.
Add light motion to static moments. A slow push-in, an animated stat, or a sliding lower-third keeps the eye engaged during talking-head sections.
Step 6: Use on-screen text deliberately
On-screen text does two jobs on LinkedIn: it reinforces your spoken points and it carries the message for the sound-off, caption-skimming viewer. Treat text as a second layer of storytelling, not decoration.
Highlight key terms by bolding or color-shifting a single word in your captions as the speaker says it. Add standalone text cards for big numbers or section breaks, framed inside the safe zone. Keep typography consistent: one font family, two weights at most, and a single accent color. Inconsistent text styling is the fastest way to make a polished talking head look amateur.
Avoid covering the speaker's face with text. Place supporting graphics in the upper or central area, and keep the lower-central band reserved for your primary captions. If you are repurposing the same clip for other channels, the text placement logic carries over directly, which is one reason teams editing for both platforms read our notes on Instagram Reels for B2B brands.
Step 7: Get the length right
For LinkedIn, the practical sweet spot for a vertical clip is 30 to 90 seconds. Short enough to finish on a scroll break, long enough to make a real point. You can go longer for a strong narrative or a detailed teardown, up to about two minutes, but every additional second needs to justify itself with retained attention.
Front-load value. Assume many viewers will not finish, so the most important takeaway should land in the first 15 seconds, not saved for a payoff at the end. End with a clear, single call to action: follow for more, comment a keyword, or visit a link. One ask, stated plainly.
Step 8: Export with the right settings
Export as an MP4 using the H.264 codec at 1080 by 1920 resolution. Set the frame rate to match your source, usually 30 frames per second for talking-head content. A bitrate of 10 to 12 Mbps gives clean quality without an oversized file. LinkedIn re-compresses uploads, so a slightly higher bitrate on your master helps the final result hold up after the platform processes it.
Keep audio at AAC, 48 kHz, even though many will watch muted, because sound-on viewers should still get clean audio. Name your file clearly, check it once on an actual phone before posting, and confirm the captions sit inside the safe zone on a real device rather than only in your editor's preview window. Editing tools change, but solid technique transfers across them, the same principle behind any done-for-you video editing service that has to deliver across platforms.
Common mistakes to avoid
A few errors show up again and again in B2B vertical clips. Captions placed too low, where the LinkedIn interface covers them. A hook buried 10 seconds in after a slow intro. Footage exported at 720p that looks soft next to competitors. Text in three different fonts. A speaker framed dead center with their forehead cut off at the top. None of these are hard to fix once you know to look for them, and a quick checklist before every export catches most of them.
What it costs to produce LinkedIn video consistently
Editing one vertical clip well is manageable. Doing it every week, on schedule, is where most teams stall. Here is what the options cost.
Hiring an in-house editor runs roughly $55,000 to $75,000 per year in salary, per ZipRecruiter data on video editor salaries, before benefits and software. Freelancers typically charge $75 to $250 per video, which works until you need volume and consistency. Agencies that take on full projects can run anywhere from $500 to $5,000 or more per project, and the broader market for editing services spans roughly $500 to $3,000 depending on scope.
Video as a channel keeps growing across B2B, and the data from HubSpot's video marketing research backs up why teams keep investing in it. The hard part is sustaining output without burning out an internal hire or chasing freelancers for revisions.
What Pixel8 Production offers
Pixel8 Production is a done-for-you B2B video editing subscription built for teams that want a steady stream of LinkedIn-ready vertical clips without managing the production themselves. You get a dedicated editor who learns your brand, your captions style, and your safe-zone preferences, so every clip ships in the right aspect ratio with sound-off captions already placed correctly.
The model is a flat subscription at $2,000 to $3,200 per month with a 48-hour turnaround on standard edits. That covers reframing horizontal footage to vertical, burned-in captions, on-screen text, pacing, and platform-correct exports, the full list of steps in this guide, handled for you. Instead of paying per video or carrying a full-time salary, you get predictable cost and consistent output, which is what a regular LinkedIn posting cadence actually requires.
Bottom line
Learning how to edit a vertical video for LinkedIn comes down to a repeatable set of decisions: build at 1080 by 1920, respect the safe zones, hook viewers fast, burn in clean captions, pace for a professional audience, keep clips between 30 and 90 seconds, and export as H.264 MP4 at a solid bitrate. Get those right and your clips will look native to the feed and credible to the buyers watching them. When the weekly cadence becomes more than your team can sustain, a subscription editing partner like Pixel8 keeps the quality steady without the overhead.
Where to go from here
Frequently asked questions
What aspect ratio should a LinkedIn vertical video be?
Use 9:16 at 1080 by 1920 pixels. This fills the maximum vertical space in the mobile feed and avoids the letterboxing or cropping that happens when you upload a wider ratio. Set your timeline to this resolution before importing footage.
How long should a vertical LinkedIn video be?
The practical sweet spot is 30 to 90 seconds. That is long enough to make a real point and short enough to finish during a scroll break. You can go up to about two minutes for a strong narrative, but front-load your key takeaway in the first 15 seconds regardless of length.
Do I need captions on LinkedIn videos?
Yes. Most LinkedIn video is watched without sound, at least initially, so captions are essential. Burn them into the video rather than relying on auto-captions, since burned-in text gives you full control over font, size, placement, and timing inside the safe zone.
Where are the LinkedIn safe zones for vertical video?
Keep the bottom 15 percent, the right 10 percent, and the top 10 percent of the frame clear of anything critical, because LinkedIn overlays its interface there. Place your captions, key stats, and calls to action inside the central band so nothing important gets covered by the platform UI.
What export settings should I use for LinkedIn vertical video?
Export as an MP4 with the H.264 codec at 1080 by 1920, matching your source frame rate, usually 30 frames per second. Use a bitrate of 10 to 12 Mbps and AAC audio at 48 kHz. The slightly higher bitrate helps quality survive LinkedIn's re-compression on upload.
How do I make a strong hook in the first few seconds?
Open on motion or a face, never a static title card or slow logo. Add a bold text hook on screen within the first second, since video often autoplays muted. Trim any dead air, filler words, or slow intros so the first sentence in the final edit is the most interesting one.
Should I hire an editor or use a subscription service?
It depends on volume. A freelancer at $75 to $250 per video works for occasional clips, and an in-house editor at $55,000 to $75,000 per year suits high constant demand. A subscription like Pixel8 at $2,000 to $3,200 per month fits teams that want consistent weekly output with predictable cost and a 48-hour turnaround.

Prakhar Mehta
Pixel8 is a done-for-you video editing subscription, giving SaaS companies, agencies, and founders a dedicated editing team with 48-hour turnaround.
Ready to stop doing this yourself?
Get a dedicated video editing team. 48-hour turnaround, unlimited revisions, month-to-month.